Polymer Clay Fan

Free Sculpting Tutorials

Search Results

My First Polymer Clay Sculpture

Posted by goregt On August - 28 - 2009

When I first started sculpting with polymer clay I basically only had around six weeks of sculpting experience. Up to that time the only clay that I even knew existed was a water based clay. For those of you that still sculpt with water based clays my condolences. To say that they are a challenge to work with is an understatement (unless you are using them for pottery or something along those lines).

I’ve always been one to push myself to the limits with my art and my first polymer clay sculpture was no exception to that rule. I wanted to create a sculpture that was both dynamic and unlike anything that I had ever seen before. I personally have always liked artwork that depicted angels so for my first piece I decided to create a piece that was my own version of how I think an angel would look like.
Read the rest of this entry »

About

Posted by goregt On March - 15 - 2007
Gerald gore

Gerald Gore

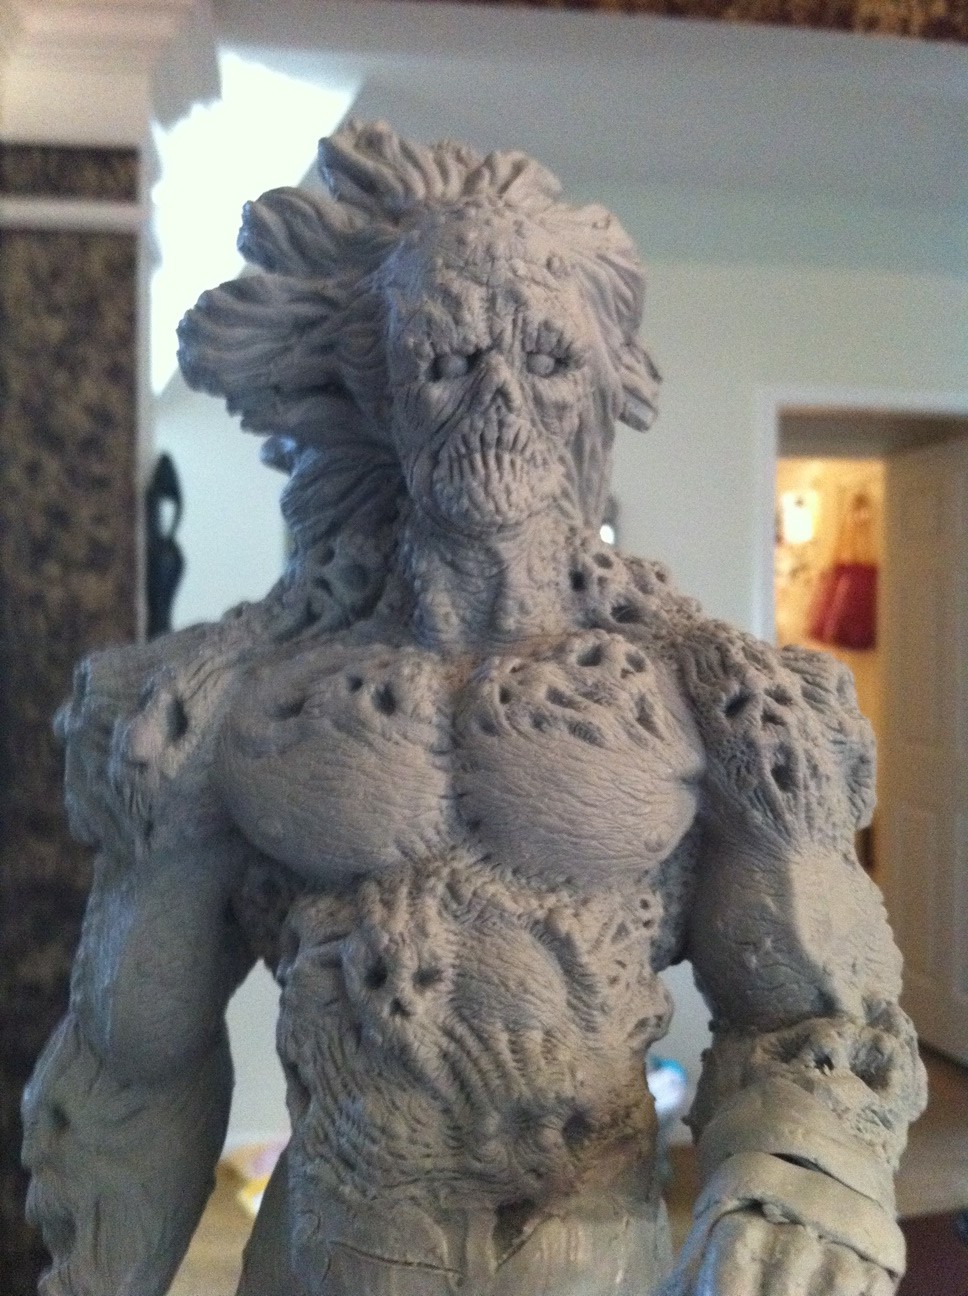
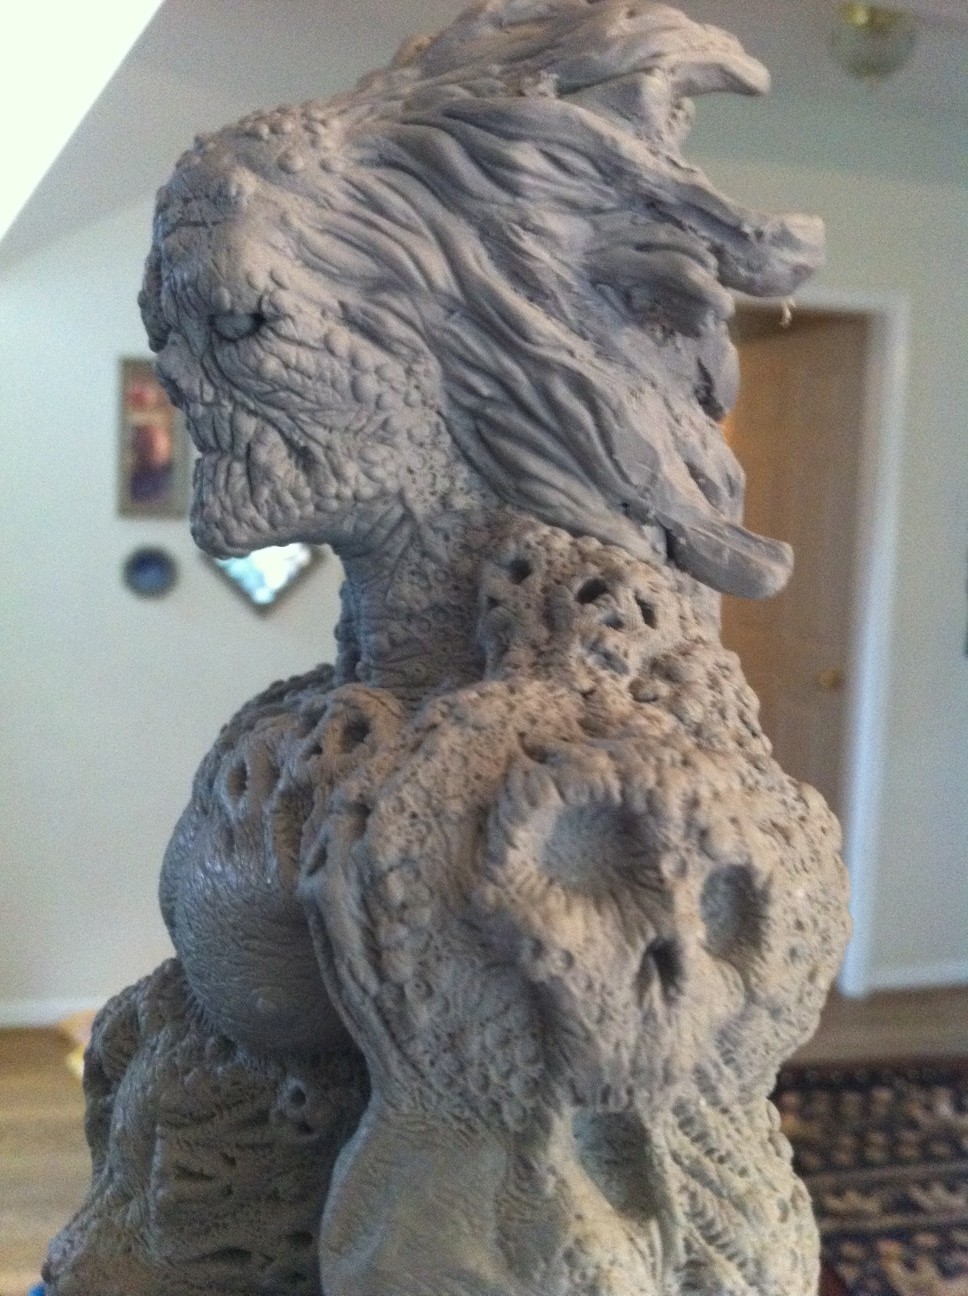
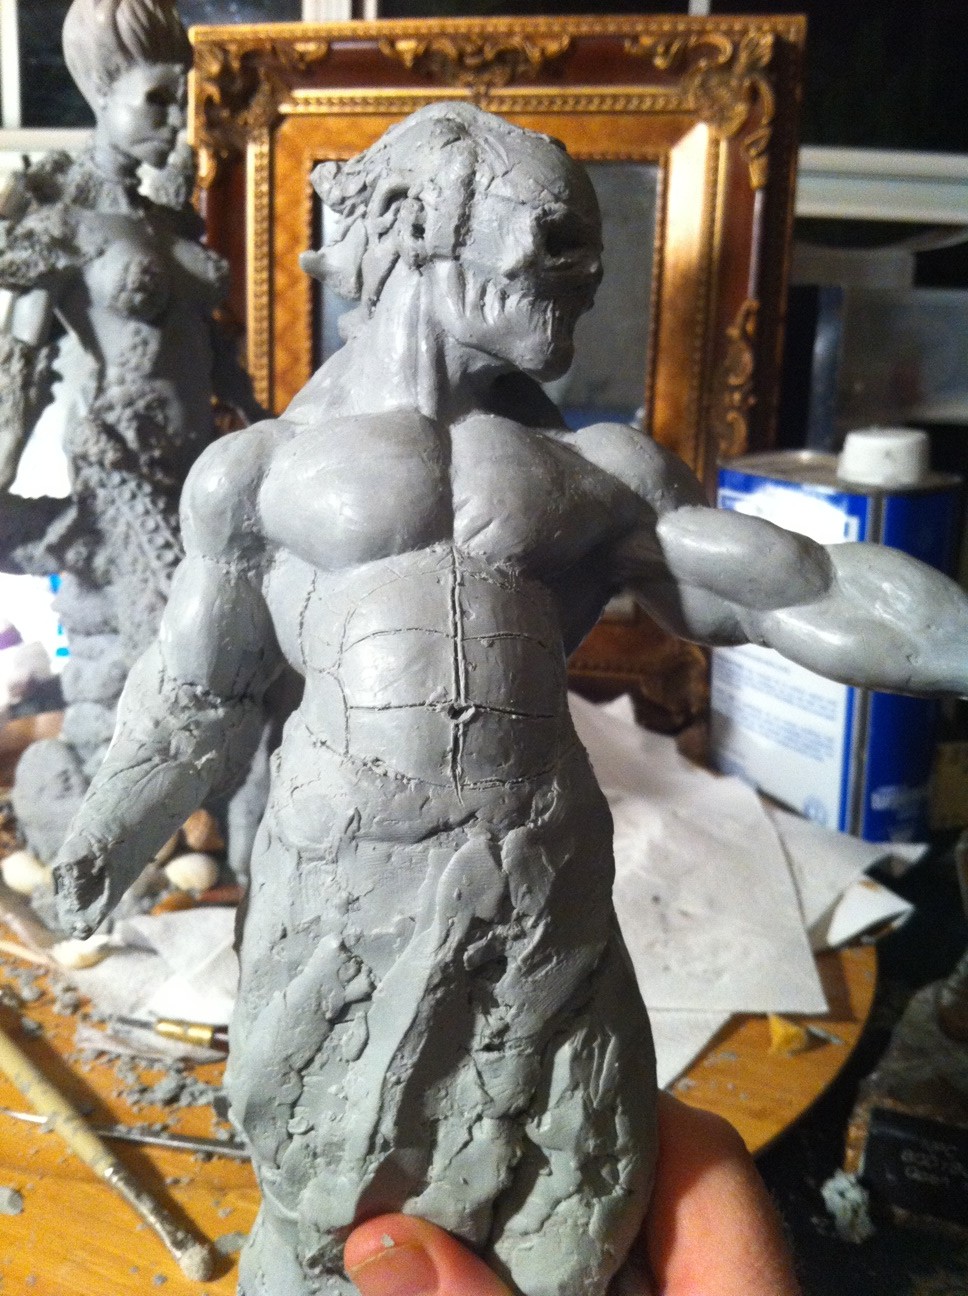
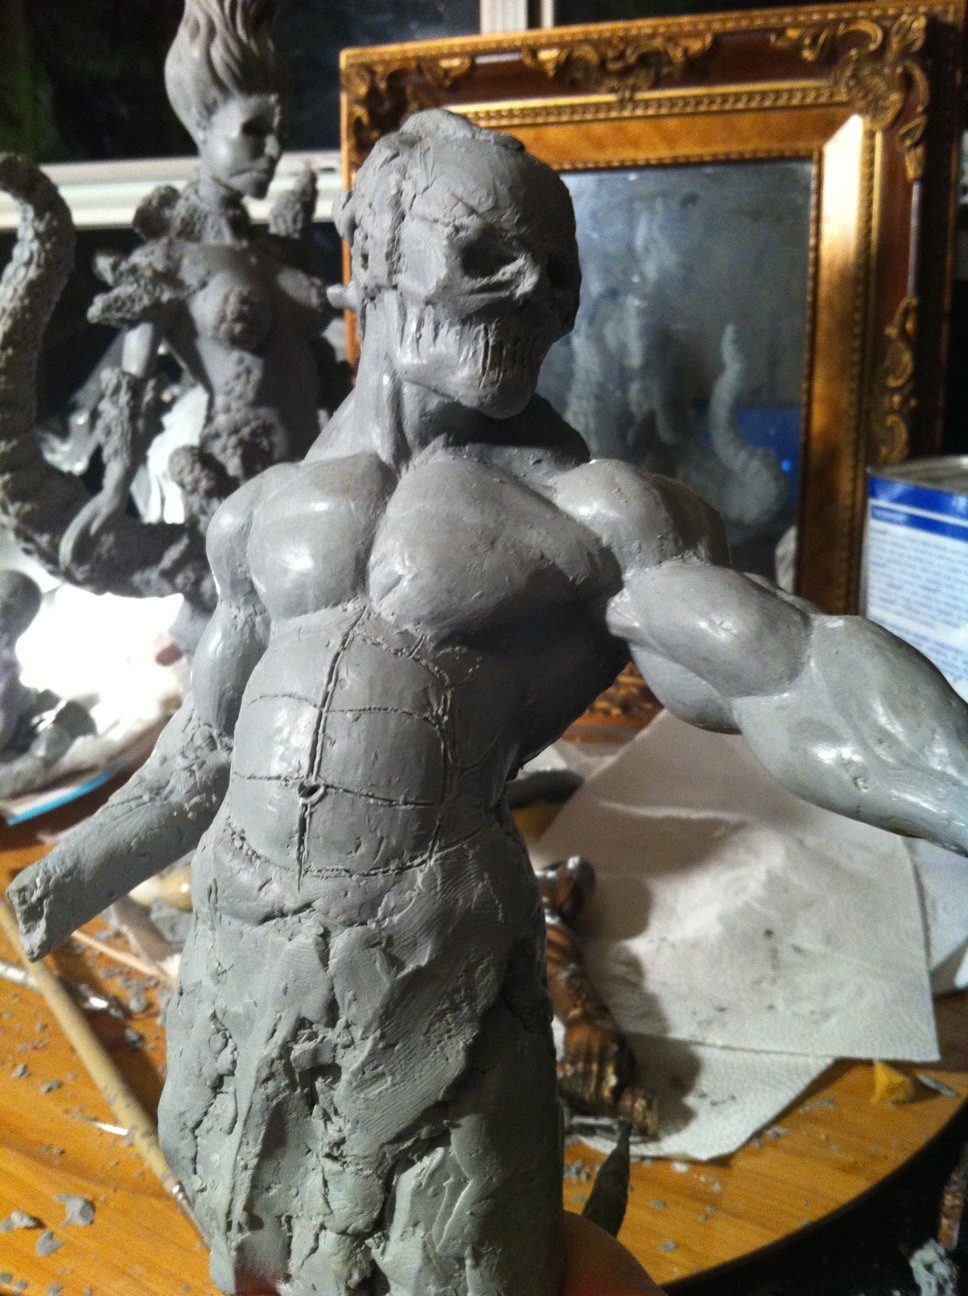
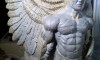
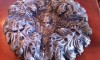
My name is Gerald Gore and I would like to personally welcome you to Polymer Clay Fan.  The Polymer Clay Fan website is a collection of a few of the sculptures that I have created. Some of the sculptures on this site have been put into production while the majority of them are only here for your viewing pleasure.

My sculpting background

In November 2003 I had a life changing accident, I accidentally discovered sculpting.  My wife, Karen, was taking a ceramic painting class and I asked if she would bring home some clay for me to play with. I took art back when I was in high school so I thought it would be neat to try my hand at sculpting.  However, the majority of my art experience by that time had been with drawing and painting.  My previous sculpting experience included making an ashtray in the fifth grade (which looked like a third grader made it) and an armless torso in high school – hey what can I say, I couldn’t figure out how to make the arms :-).

In all honestly I was scared to death that I would not be able to sculpt. I pretty much sat the box of clay in the corner of the house and hoped that it would figure out how to sculpt itself.  After letting the clay sit around the house for a few weeks I finally decided to give sculpting a try.  I had a blast! My daughter, who was four at the time, and I made a complete mess in the house but it was worth it (although my wife may disagree). Within three days I created my first sculpture, became hooked and have been sculpting ever since.

I have been fortunate enough to be able to teach myself how to sculpt. I have also found the internet to be a wonderful resource for learning all types of sculpting styles and techniques. In my short journey in this medium I have personally discovered that sculpting is an incredible form of art that teaches me something new every day. Art has always been a rewarding love in my life; it can be relaxing, challenging and stimulating all in the same moment.

I highly recommend that everyone should try to learn some type of craft, whether it be sculpting, painting, drawing or something that you just make up. Over the past few years I have learned that when you share art with the ones that you love it can be a very bonding and rewarding experience. No matter what artistic form you choose to tackle, go out, have fun and broaden you imagination.

All the best,
Gerald Gore

Sculpting Scales

Posted by goregt On September - 17 - 2012

There are a lot of different ways you can sculpt scales and the tutorial below is just one of many examples that you can use. I’m using a wax in this tutorial but the same steps can be used with polymer clay.

  1. The first step is to design and sculpt the forms of your sculpture (i.e. muscles bulging, wrinkles in skin, etc)
  2. Next, using a sharp tool I will draw patterns into my wax.
  3. Periodically I’ll brush away the excess wax to clean my surface while I work.
  4. Once I have my pattern to my liking I’ll go back and carve a deeper cutout around my shapes.
  5. After the excess wax has been removed I’ll begin to smooth out and clean up the sculpture with Odorless Mineral Spirits (use rubbing alcohol if you are sculpting with polymer clay). Read the rest of this entry »

Fresh Eyes

Posted by goregt On March - 8 - 2011

It should be no surprise to anyone that has dabbled in clay and wax that sculpting is a very time consuming project. There may be some artist out there that can whip out masterpieces in a flash but for us mere mortals most projects require a vast amount of hours from their inception to their completion. As with any activity that demands a huge investment of your time, it’s easy to get lost in the mistakes. I am also guilty of spending countless hours working on a section of my art only to find out later that the symmetry is off or that the design is just too stale.

Sometimes the best approach for tackling a big project is to know when you need to set aside some distance with it. I’ve found that if I spend too much time on one area of my sculpture that I sometimes get lost in it and my eyes can no longer see the mistakes. Due to my schedule, most of my sculpting can take me into the late midnight hours so I’m already at a disadvantage with tired eyes before I even begin. For this reason I’ve found, although fail to put into practice form time to time, that it is best to jump around the sculpture instead of becoming fixated with one section of it. However, no matter how much jumping around I do there are times that I need to set the sculpture aside and revisit it with what I call “fresh eyes”.
Read the rest of this entry »

Soul Collector – Pulling a Mulligan

Posted by goregt On January - 12 - 2011

One of the risk of letting a project sit on a shelf for too long is that as your skills develop it potentially is less likely that you will complete the project.  I’m sure there are quite a few of you out there that completely disagree with me but in my office I have a large number of unfinished sculptures that will never be completed. In all honesty most of the art that I have created is unfinished which brings up another point. Sometimes it’s really a good idea to see yourself to the end of a piece before jumping around to something else (one of my personal goals I’m trying to work on).

A couple years back (or more) I wanted to create a sculpture of what I called a soul collector.  Basically a Grim Reaper type of creature that has a variety of lost souls swimming under his skin.  I’m attracted to the concept of this project for the most part because of the complexity involved in being able to pull off the sculpt.  Sculpting the individual souls under the skin is one thing but making the entire project work to where it doesn’t look like a convoluted mess  is a different beast to conquer.  I’ve been working on and off with this project for over two years now (more off than on) and now that I’m ready to finish it I’ve come to realization that I do not like the direction that I have taken with my original sculpture. To start the sculpture has some symmetry issues and I’m not all that in love with the overall design.  I can fix all the problems but basically I’ve reached a point where starting over will probably cost me less time than trying to fix this sculpture.  It’s not that the sculpture is bad and I have received positive feedback on it but I’ve basically reached a point where my skills and design taste have changed enough where starting over is the best option.

So, to avoid getting too wordy here I’ll show of a collection of picks of my original concept along with the project I’m current working on.  Keep in mind that the latest sculpt is still in the early stages so it has a long ways to go until the details are caught up with the original piece. The first three pictures are my original design and the last two represent the newer sculpt.

You can see more on this sculpture at www.goreartistry.com

Tribal Back – 3

Posted by goregt On October - 5 - 2009

Step three in this tutorial builds on the first two steps that we used to sculpt the back. I continue to build out the individual forms by adding and removing clay to mimic the shapes in my resource material.

For this sculpture I am sculpting the details on the left side of the back first and then will move to the right side. I’m only doing it this way because it is a little easier to create a tutorial using this method. If I was just sculpting this without trying to document the process I would sculpt both side of the back at the same time. Read the rest of this entry »

Tribal Back – 2

Posted by goregt On October - 1 - 2009

In the last tutorial I briefly went over how I like to draw out a rough outline of the different muscles. I use this trick on quite a few places on the body and it really helps be understand and build out the individual shapes. For example, I like to draw out the individual muscles when I sculpt muscular arms and very lean abs. The back also has a lot going on so even though my outline is pretty rough it still helps me break down the back into the individual muscles (or shapes).

The first step is to separate my back into two halves. Now you can’t just simply carve a line down the center of the back, otherwise your sculpture will look like it has a canon going down the center of it. To make the back look more natural I will blend the two halves of the large back muscles (latissimus dorsi) into the area of where the spine is located. This task is easily accomplished by carving the center edges of the back until it gently slopes to the spine. I keep working both halves of the back until I get a look that I am happy with. Read the rest of this entry »

Blending in the Scars

Posted by goregt On September - 29 - 2009

OK, for this lesson I will briefly cover the steps for blending the small round scars. I like to first layout my design before blending the shapes into the rest of the sculpture. The reason why is because if my spacing is off or I don’t like the way the design is taking shape I can easily make changes. Otherwise I would have to scrape away clay, smooth out the belly and start over.

Once I have everything where I want I just take a flat edge sculpting tool and blend the edges of my small ball shaped scars. The key is to make sure you blend all of the edges. To accomplish this I like to look at the sculpture from all kinds of angles. It is amazing how a sculpture changes when you look at it from a different angles, everything may like fine from one end while when you look at it from the other end all kinds of mistakes or imperfections appear. The same point holds true when painting a sculpture but that is another tutorial in itself. Read the rest of this entry »

Sculpting the Belly Button

Posted by goregt On September - 21 - 2009

In this next tutorial I will walk you through the steps for sculpting a belly button. Belly buttons are actually made up of interesting shapes and there really is a lot more to sculpting them then just creating a hole inserted into the clay. Now belly buttons come in all types of shapes and designs but there are some traits that are common in most belly buttons. For instance there are small folds of skin in and around the belly button. Also, if you look closely the design and shape of the stomach also changes around belly buttons as well.

Because belly buttons come in all kinds of shapes and sizes there are many different types of belly buttons that you can sculpt. Keep in mind that this tutorial is just one example of how a belly button can look. So use this tutorial as one option for sculpting a belly button and see what designs you can come up with. Read the rest of this entry »

Changing the design of the breast – 2

Posted by goregt On September - 16 - 2009

My thought process on sculpting any form that I find challenging is to break the design down into simple shapes. Lets take a hand for example, if you break it down into individual shapes the fingers are made up of small cylinders while the palm of the hand is made up of a square. Anyone can sculpt a square and a cylinder so if you think about it anyone can sculpt a very basic design for a hand. If you take it a step further you can also then break your individual parts of the hand into basic shapes. For example, the knuckles are shaped like circles while the fingernails are shaped like small squares. In just a few steps your hand has evolved from a very simplistic design into one that is a little more complex with the addition of the the knuckles and the fingernails. From this point on you just keep refining the individual shapes until you end up with a realistic looking hand. Read the rest of this entry »

VIDEO

Enter the video embed code here. Remember to change the size to 320 x 270 in the embed code.

TAG CLOUD

Recommended Sites

About Me

Nothing special, just a self-taught sculptor having fun with my art and showing all of you the tips and tricks I use to create my own artwork

Twitter

    Photos

    Activate the Flickrss plugin to see the image thumbnails!